This week we made some big changes to exterior of the house. The outside got a full cosmetic makeover! We had the large overgrown holly tree next to the driveway taken down. Every time you got out of your car you would get a nice prick from the leaves. It is a very pretty tree and when the red berries come out it makes perfect decoration for the holiday season but it was way over grown and needed to get the boot. We did lose a bit of privacy so we will plant a nice full tree, maybe a dogwood, to get that back.
.JPG) Before: Holly Tree
Before: Holly Tree
.jpg) Before: Holly Tree
Before: Holly Tree
 After: All Gone
The front of the yard got cleaned up as well. The remainder of the overgrown Crepe Myrtle was cleared out along with the very lovely yet very out of place tropical plant near the pathway. When the guys ripped it out there was a good 8" deep hole which we figure used to be the one of the large maples that got torn or taken down from storm damage. Now that the front is cleared out we can plant 2 new red maple trees to keep align with the rest of the street's canopy trees. I also have some big plans to put in a nice half circle driveway but need to get some information on easements before I can design that out. It will defiantly be down the road but you always have to plan ahead.
The backyard also got the clean out, ripping out all of the over grown weeds, brush, tree stumps, boy there was a lot of it. Shout out to my mother in law for being the officially weed-puller this past week. Thanks Debbie! We decided to keep the rock garden because we can reuse all of the pretty rocks and stepping stones when we re-landscape. After it was cleaned out we discovered it must have been some type of fountain or pond and the old owners just filled it in with dirt at some point. Of course we will need to revisit the privacy issue with everything cleared out so we will plant some kind of tall, easy to maintain trees along the back of the yard.
.JPG) Before: Back yard looking to driveway
Before: Back yard looking to driveway
.jpg) After: Driveway looking into back yard
After: Driveway looking into back yard
.JPG) Before: Backyard
Before: Backyard
.JPG) Before: Backyard
Before: Backyard
.jpg) After: All cleared out
After: All cleared out
 After: All cleared out
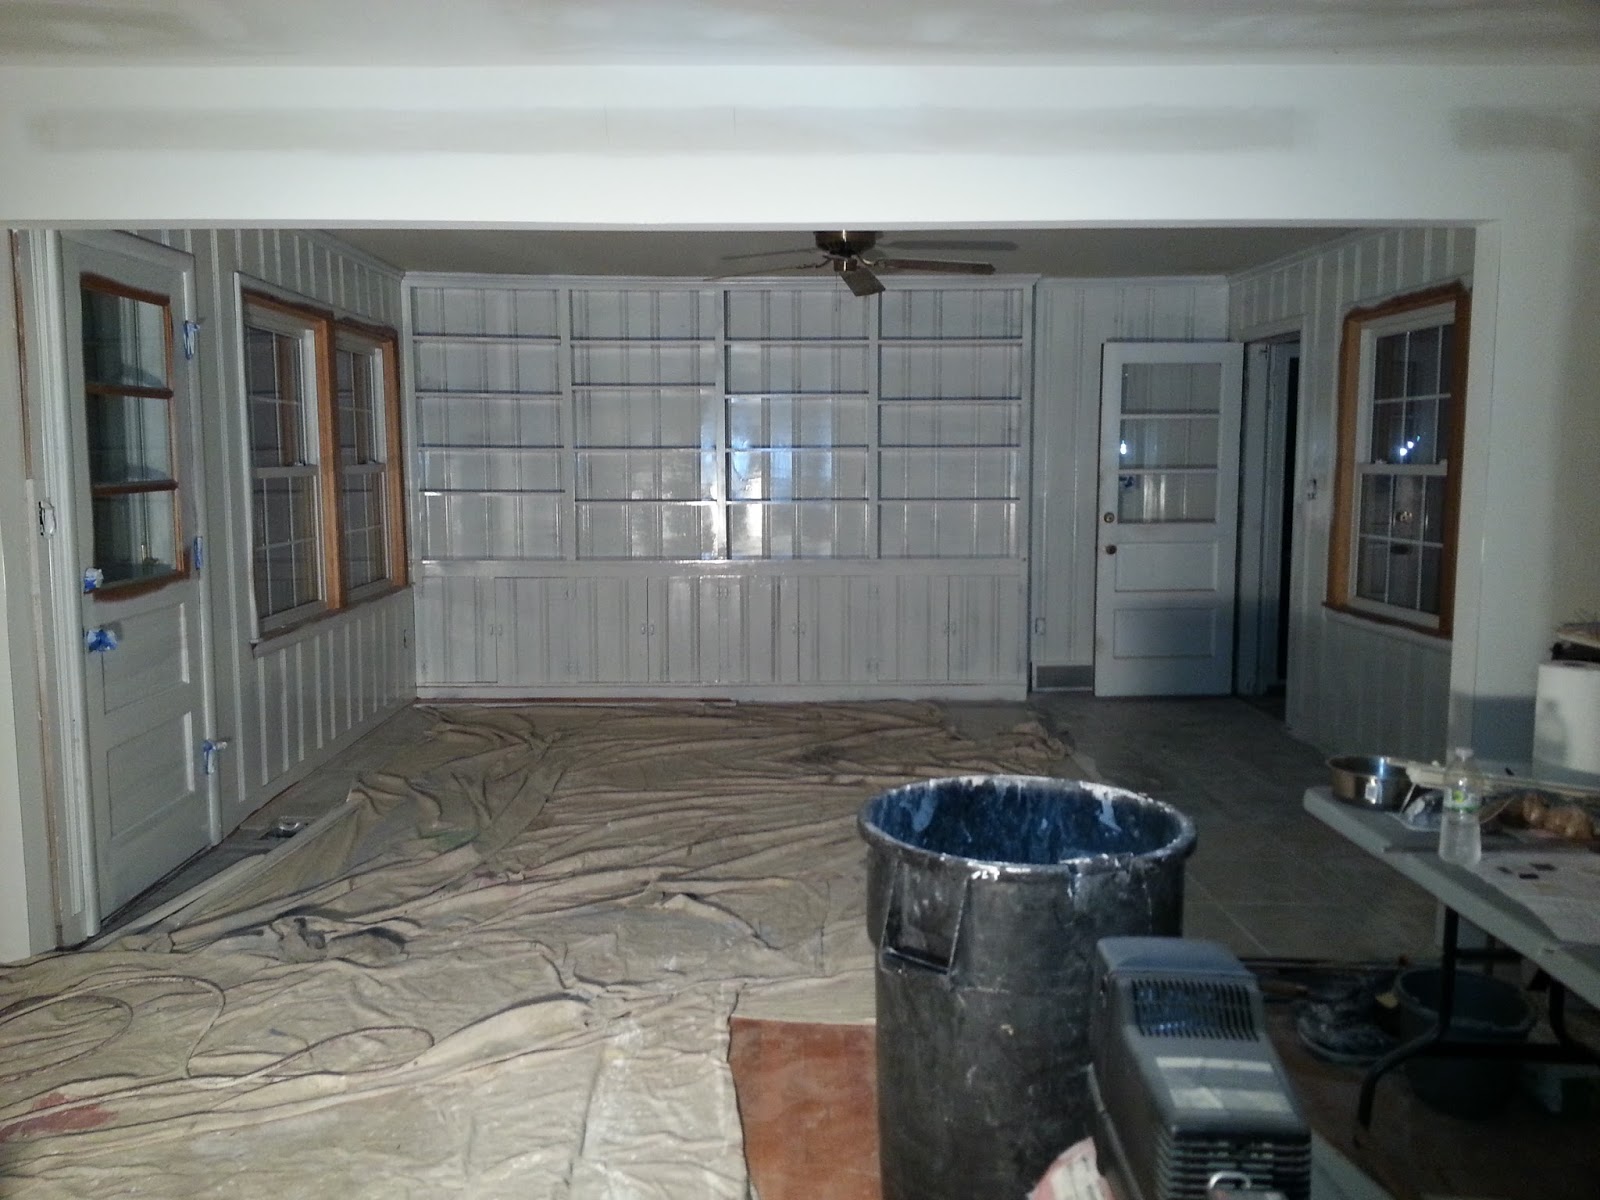.jpg) Before: Stain killer applied, no more knotty pine!
Before: Stain killer applied, no more knotty pine!
.jpg) Before: Applying the Stain Kill
Before: Applying the Stain Kill
.jpg) Before: Applying the Stain Kill
I saved the best for last here..... we got our kitchen floor laid! This tile process went much faster than the bathrooms due to the 18x18 size and that our tile guy only had to cut around the pipes for the kitchen island. This way the floor is completely laid out and we will simply place the new kitchen cabinets right on top. And if for some reason we ever decided to remodel this kitchen (I know we will not have too but lord help me if we ever do) we wont have missing spots to fill. We did however run into a minor snag when we ran out of tile. Yup we came up short here. An entire box was delivered broken and we used a second box for the upstairs laundry closet so needless to say bad planning on my part. And of course out of all of the tile I picked out this was the one that is not in stock. It will be in this week for the tile guy to finish it complete.
Before: Applying the Stain Kill
I saved the best for last here..... we got our kitchen floor laid! This tile process went much faster than the bathrooms due to the 18x18 size and that our tile guy only had to cut around the pipes for the kitchen island. This way the floor is completely laid out and we will simply place the new kitchen cabinets right on top. And if for some reason we ever decided to remodel this kitchen (I know we will not have too but lord help me if we ever do) we wont have missing spots to fill. We did however run into a minor snag when we ran out of tile. Yup we came up short here. An entire box was delivered broken and we used a second box for the upstairs laundry closet so needless to say bad planning on my part. And of course out of all of the tile I picked out this was the one that is not in stock. It will be in this week for the tile guy to finish it complete.
.jpg) Before: Kitchen tile going in!
Before: Kitchen tile going in!
This week the painting will continue and we should see some actual color on our walls! Our electrician will be back to finish up with the new lighting and electrical outlets and switches. We also have the task of putting back up all of the baseboard and trim work we salvaged so the painter can get started on that too. We tried out best to label each piece when we removed it so we know where to put them back at.
Lots of changes going on at Heady Ave! Everyday keeps getting better and better and seems to be going full steam ahead. Just a few more weeks and we are actually going to be living there... we are still pinching ourselves knowing it is ours.
Before: Holly Tree Before: Holly Tree After: All GoneThe front of the yard got cleaned up as well. The remainder of the overgrown Crepe Myrtle was cleared out along with the very lovely yet very out of place tropical plant near the pathway. When the guys ripped it out there was a good 8" deep hole which we figure used to be the one of the large maples that got torn or taken down from storm damage. Now that the front is cleared out we can plant 2 new red maple trees to keep align with the rest of the street's canopy trees. I also have some big plans to put in a nice half circle driveway but need to get some information on easements before I can design that out. It will defiantly be down the road but you always have to plan ahead.
The backyard also got the clean out, ripping out all of the over grown weeds, brush, tree stumps, boy there was a lot of it. Shout out to my mother in law for being the officially weed-puller this past week. Thanks Debbie! We decided to keep the rock garden because we can reuse all of the pretty rocks and stepping stones when we re-landscape. After it was cleaned out we discovered it must have been some type of fountain or pond and the old owners just filled it in with dirt at some point. Of course we will need to revisit the privacy issue with everything cleared out so we will plant some kind of tall, easy to maintain trees along the back of the yard.
Before: Back yard looking to driveway After: Driveway looking into back yard Before: Backyard Before: Backyard After: All cleared out After: All cleared out
Inside the house we had quite the mess. The drywall crew came in and finished up by sanding down all of the mud. It looked like it had snowed a good 1/4 all over the floors of the house, we switched out our air vent twice this week. The best part is that it is all done and which meant that we can finally start the painting phase! 28 gallons of paint to be exact. Matt told me I world dominated Sherwin Williams because I rolled in an hour before closing with a excel sheet and floor plan calling what walls color are to be (yes I admit it had little paint swatches on it too). However it was well worth the time to do because when our painted asked for a list he was overly satisfied with the work I had done. We are painting every square inch of the first floor: ceilings, walls, doors, trims, moldings and built ins. We are also having the exterior brick, gutters and siding power washed and painted. Needless to say we have a lot to cover and it is going to take a couple weeks to finish. The first step here was the apply stain kills over all of the existing walls. This serves as a primer before the primer so none of the stains come through to the new paint color. And boy is that stuff lethal! Our painter Juan was covered up with his gas mask when he applied it. Thankfully the stain kill didn't need to go on any of the new drywall we put in.
Before: Stain killer applied, no more knotty pine! Before: Applying the Stain Kill Before: Applying the Stain Kill Before: Kitchen tile going in!
I also finally decided on our granite selection. I was driving myself nuts going back and forth between 2 selections. But once I saw that floored laid out I was able to make the official decision, Pergamino it is! It has a taupe undertone with black and brown color wave and these fantastic stripes of quartz crystals. I am in love with it and can't wait to see it with the new cabinets. This was a pretty large purchase that you cant simply return so I wanted to make sure I made the right decision here.
This week the painting will continue and we should see some actual color on our walls! Our electrician will be back to finish up with the new lighting and electrical outlets and switches. We also have the task of putting back up all of the baseboard and trim work we salvaged so the painter can get started on that too. We tried out best to label each piece when we removed it so we know where to put them back at.
Lots of changes going on at Heady Ave! Everyday keeps getting better and better and seems to be going full steam ahead. Just a few more weeks and we are actually going to be living there... we are still pinching ourselves knowing it is ours.
Comments
Post a Comment